Devices for indirect vision
Visibility Test
Main Tasks
Carry out self-certification research and study on field of view of vehicle driver
Facility and Data
| Surface plate | Size: 6m X 3m |
|---|---|
| Curvature radius measurer | Measuring range: 86cm and over / accuracy ±0.05% and below |
| Laser theodolite | Horizontal direction: ±90, vertical direction: ±95 / accuracy ±0.1degrees and below |
| 3D mannequin | 76kg(male), ISO 6549-1980 |
| Visible ray penetration measurer | Penetration rate measuring range: 0 ~ 100% / accuracy ±0.1% and below |
| 3-D Layout machine | Measuring range: 6mX2.5mX2m |
Facility Usage
- Research and evaluation test of standard suitability of Rules on Vehicle Safety Standards Article 50, Article 94
- Performance evaluation of outdoor rear-view mirror and measurement of visible ray penetration rate of windows
- Evaluation and development of vehicle’s accident prevention technology such as blind spot detection technology
Safety glazing
Main Tasks
- Carry out self-certification suitability research and test related to safety glazing
Facility and Data
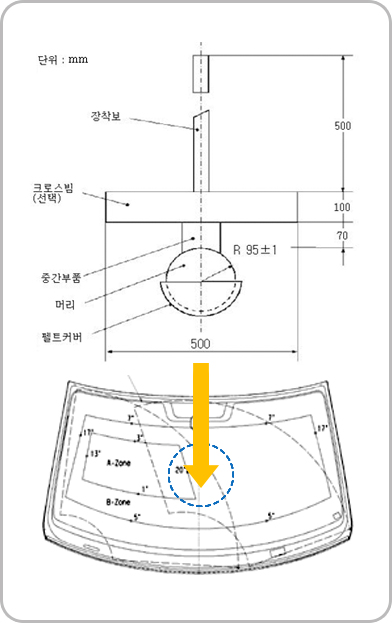
- Head form test room(drop test room) : Maximum height(11m), Objects for drop test(2260g ball, 227g ball, shot bag, dart)

Facility Usage
- Rules on Performance and Standards for Vehicle and Vehicle’s Parts Article 105(Safety of the safety glazing etc) and details fo execution 49 of [Attachment 1] Safety glazing
- Mechanical strength test of the safety glazing(head form test, drop test, Fragmentation test)